Skim, Sand, Texture: the Stage Cheap Bids Skimp On
Once old popcorn comes off, the drywall underneath is never magazine-ready. Builders of the 1950s through the 1980s knew the texture would hide their taping, so they taped fast: visible seams, proud screw heads, ragged corners. Retexturing is the craft stage that turns that raw surface back into a finished ceiling — repairing, skim-coating, sanding, and then applying whichever final finish you've chosen. Retexturing also stands perfectly well on its own. Not every tired Little Rock ceiling started as popcorn: a swirled 1970s compound pattern gone patchy, an old repair that never matched, or a kitchen ceiling scarred by a fluorescent box light someone removed a decade ago. Retexturing over sound drywall refreshes all of it without a full tear-out.
The Finish Options, Compared
Smooth (level 5)
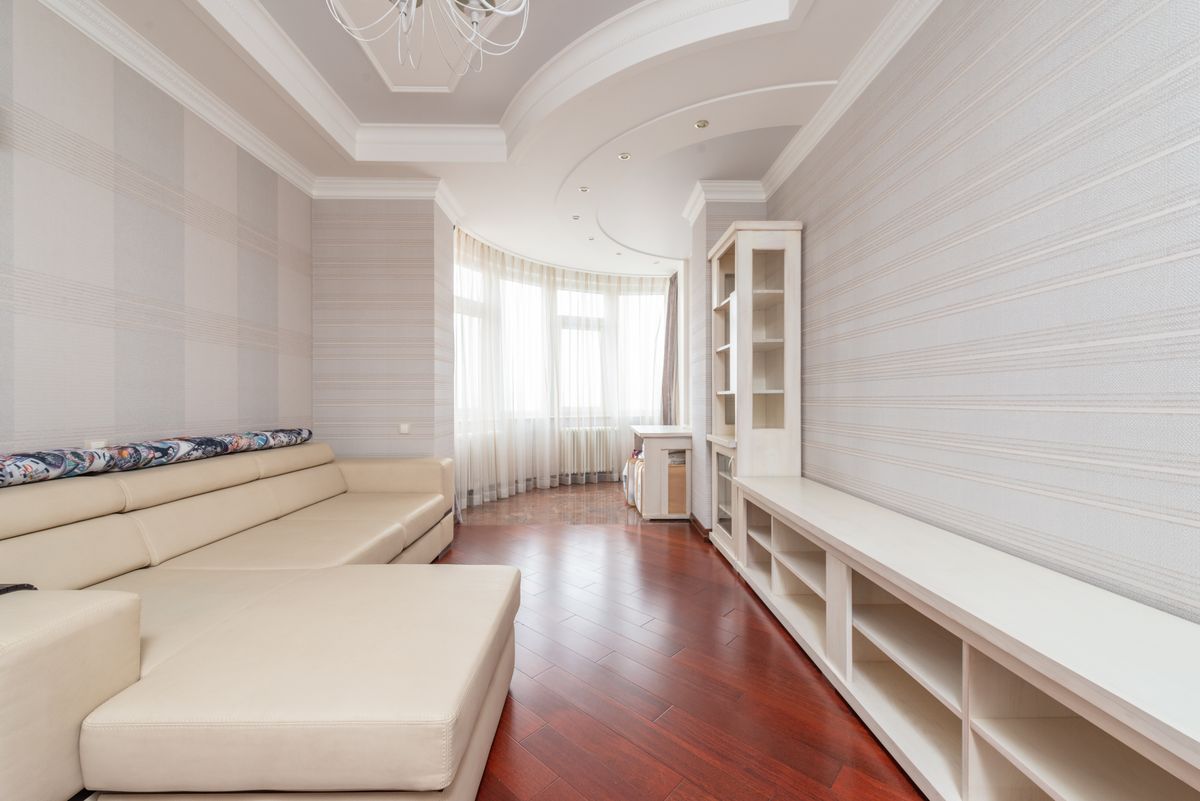
The whole ceiling is skim-coated flat, sanded, and primed — no pattern at all. It's the finish every renovated Heights or Hillcrest listing shows off, and it makes low ranch ceilings feel taller. Costs the most because it forgives nothing: every wave shows in raking light, so the prep must be genuinely flat.
Knockdown
Splattered compound is lightly troweled — “knocked down” — into a soft, mottled pattern. The most popular middle path: modern-looking, budget-friendly, and forgiving of the framing quirks common in sixty-year-old houses. Hides minor imperfections that smooth would broadcast.
Orange peel
A delicate, uniform spray pattern that earns its fruit-skin name. Subtler than knockdown, cheaper than smooth, and often the best match when your walls already carry a light spray texture — the ceiling stops being a design statement and simply looks correct.
Hand textures
Skip trowel, swirls, and stomp patterns applied by hand. Mostly chosen to match an existing look elsewhere in the house, or to repair one damaged area of a textured ceiling invisibly rather than redoing every room.
Matching the Finish to Your House
There's no single right answer, but the pattern around town is consistent. Midcentury ranches in Broadmoor, Briarwood, and Lakewood look best under smooth or orange peel — their clean rooflines and big windows reward a quiet ceiling. Seventies and eighties two-stories off Rodney Parham or out in Bryant often suit knockdown, which bridges nicely to the wall textures those builders used. And if you're refinishing one room in an otherwise textured house, matching the existing finish usually beats introducing a new one; a ceiling that matches its neighbors disappears, and disappearing is the point. Bring photos or just describe your rooms during the quote call — recommending a finish is part of the job, not an upsell.
From Assessment to Final Coat
Reading the surface
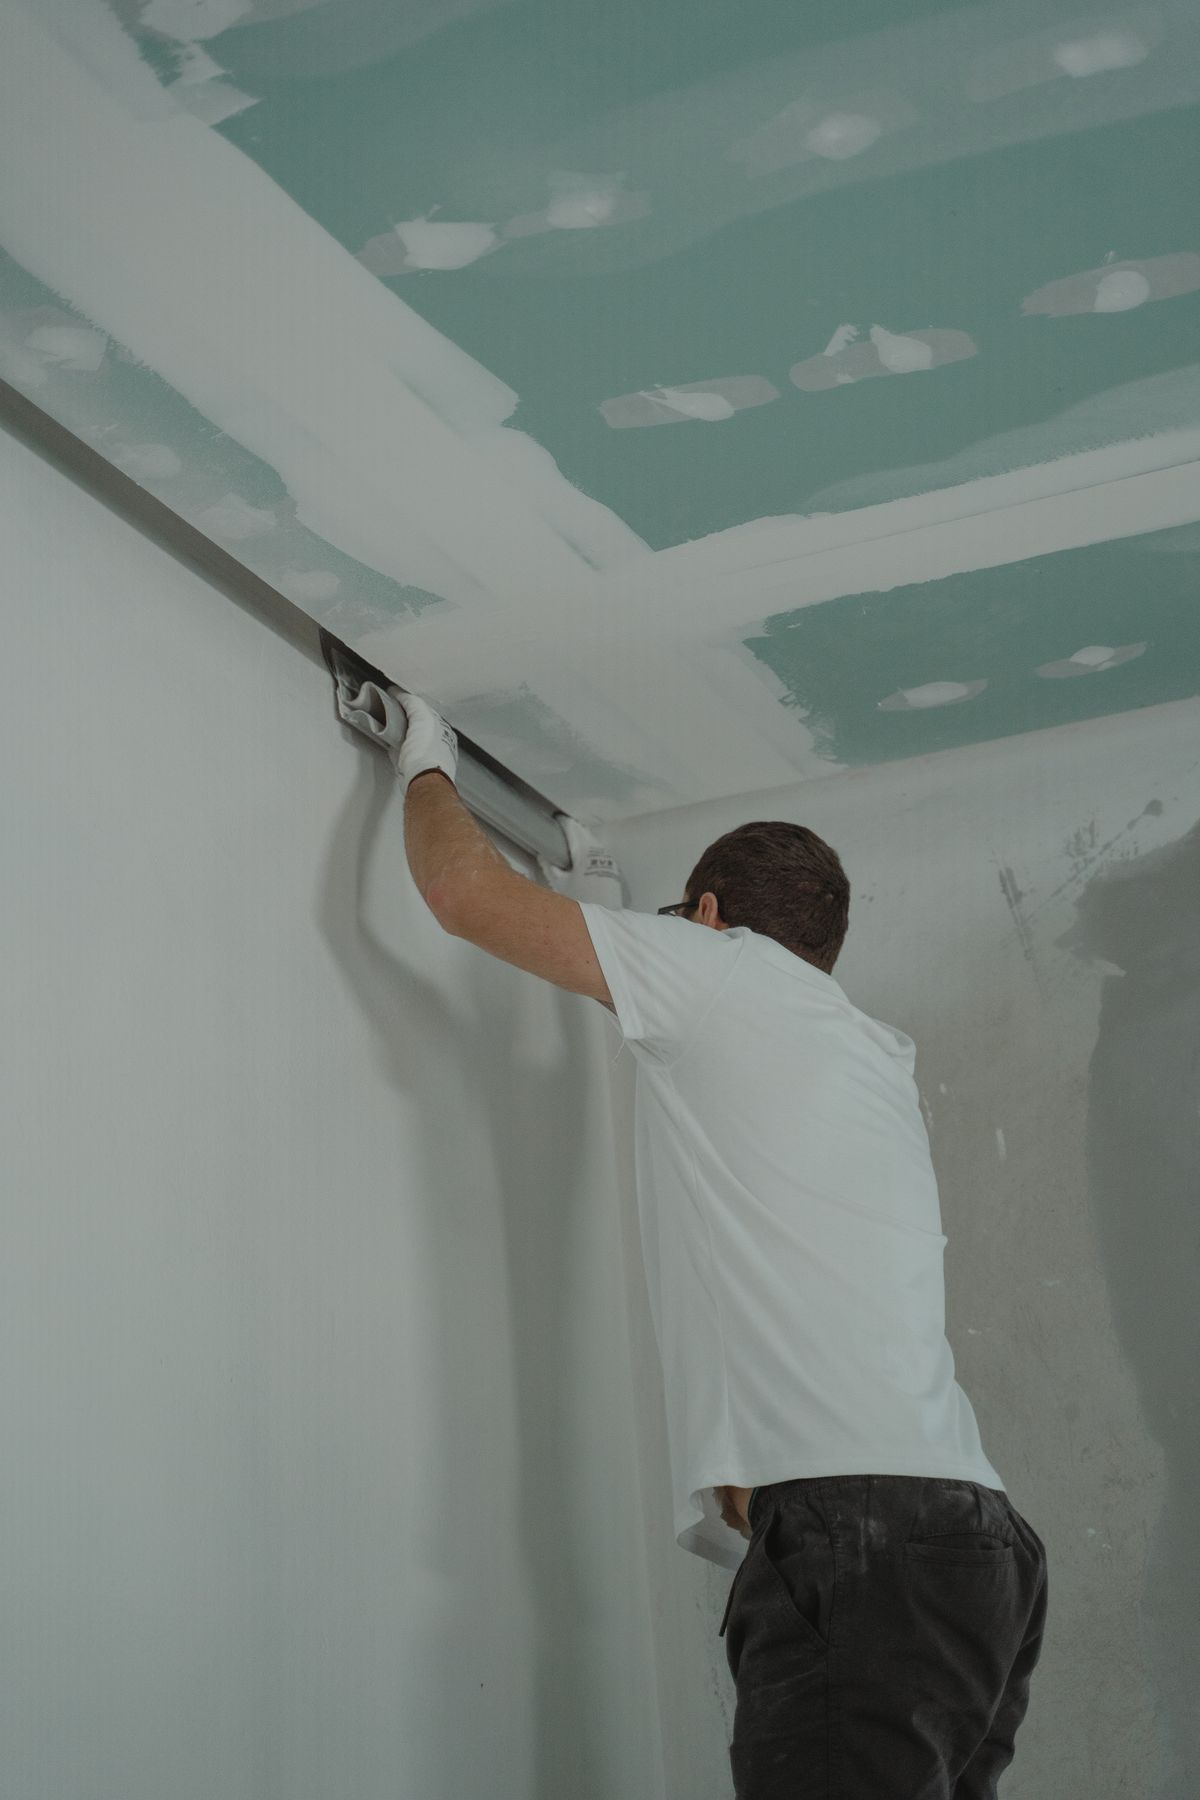
Old popcorn scraped by our crew, a previous owner's half-finished project, or original bare taping — each starts differently. The pro checks seam condition, screw pops, and any water-damaged patches, and tests old texture for asbestos if there's any pre-1990s material still in play.
Repairs and skim coat
Loose tape is replaced, gouges and gaps filled, and the field skim-coated — one pass for spray textures, several for a true smooth finish. This is where the labor lives, and where cheap bids cut the corner you'll see forever.
Sanding and inspection under light
The skim is sanded and then checked with a strong side light, because a ceiling that looks fine at noon can ripple at sunset. Little Rock's low winter sun through big south-facing windows is merciless on wavy ceilings; good crews find the waves first.
Texture application
Spray finishes go on with calibrated hopper guns; knockdown gets its trowel pass at just the right tack; hand textures are worked section by section. Consistency across the whole ceiling — corner to corner, room to room — is the mark of a pro.
Primer, then paint
Fresh compound drinks paint unevenly, so a dedicated primer always goes down first — skip it and the ceiling flashes blotchy sheen at every lamp. Nearly every project wraps with complete ceiling painting, because an unpainted new finish is a job stopped at ninety percent.
A Word About Humidity and Drying Time
Joint compound dries by evaporation, and Central Arkansas air spends much of the year holding plenty of moisture already. In practice that means a skim coat that would dry overnight in Phoenix may want a full day or more here in July, and rushing coats together is how bubbles and hairline cracks happen. Experienced local crews plan for it — running air movers and dehumidifiers, sequencing rooms so drying never stalls the schedule, and refusing to texture over compound that isn't ready. It's an unglamorous detail that separates ceilings that stay perfect from ceilings that craze by Christmas.
Room by Room: Where Each Finish Earns Its Keep
If you're deciding for a whole house, it's fine to mix. Living rooms and primary bedrooms are where smooth repays its premium — they're the rooms with the biggest windows, the longest sightlines, and the most evening lamplight raking across the ceiling. Kitchens argue for a wipeable, slightly textured surface that doesn't showcase every steam plume; fine orange peel under a scrubbable paint is a durable pairing. Bathrooms are the humidity chamber of an Arkansas house, and a light texture plus mildew-resistant paint outperforms a delicate smooth finish that will telegraph every future moisture episode. Hallways and secondary bedrooms are the natural place to save with knockdown. Mixing finishes this way is invisible in daily life — no one stands where they can compare the hallway ceiling against the living room's — and it can pull hundreds of dollars out of a whole-home number without pulling any quality out of the rooms you actually show off.
What Retexturing Costs
As a standalone service on sound, ready ceilings, texture application commonly runs roughly $1 to $2 per square foot, while full skim-coat-to-smooth work lands higher — often $2 to $4 per square foot — because of the added coats and sanding. Bundled behind popcorn removal, retexturing is cheaper than either number suggests, since the surface prep is already part of the removal scope. Ceiling height, repair needs, and how much furniture protection a lived-in room requires all nudge the figure, which is why the real answer is always the free quote. For the fuller pricing picture, including removal itself, see the Little Rock cost guide.
Retexturing Questions
Can new texture go right over my existing ceiling?
Often, yes — if the existing surface is sound, clean, and firmly attached, new texture or a skim coat can be applied directly. Flaking texture, active stains, or anything pre-1990s that's never been tested needs attention first. The assessment visit settles it, and the quote reflects whichever prep your ceiling actually needs.
Which finish hides flaws best on an older house?
Knockdown, followed closely by orange peel. Both scatter light enough to conceal the slight framing undulations that sixty years of Arkansas summers put into ceiling joists. Smooth is achievable on any house — it just requires more skim work to get there, which is a cost decision rather than a possibility question.
Will the new finish match my walls?
If you want it to. Matching an existing wall texture on the ceiling, or deliberately contrasting textured walls with a smooth ceiling, are both standard requests. Bring up the look you're after during the quote and the pro will spray a test patch before committing the whole room.
How long does a new finish last?
Decades, barring leaks. Properly applied texture over primed, sound drywall doesn't wear out the way paint does — it fails only when water or structural movement gets involved. Fix roof issues promptly and a ceiling refinished this year should still look right when the house next changes hands.
How soon can we paint after texturing?
Once the texture is fully dry — typically a day or two depending on the season and the finish thickness. Primer then paint can usually follow immediately, and most whole-room retexture-and-paint projects wrap within two to four days.
Pick a Finish You'll Love Looking Up At
Free quotes on retexturing — after popcorn removal or on its own — from a licensed, insured Little Rock ceiling professional.